This paragraph illustrates the main steps for defining a Layout. Each step is examined in greater detail later in this chapter.
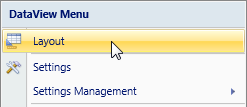
To access the Layout configuration of an object, right-click on the object and select the Layout option from the properties pop-up window or double click on the object and select the Layout icon from the ribbon bar. All objects contained in the toolbox have a layout property except for the objects Dynawrite, Selector and Pager. Depending on the object type the Layout window may have slightly different features and configurations available.
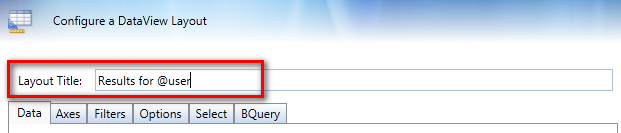
It is possible to define a title for the Layout. The title is displayed in the top left cell of if the Layout is of a Dataview object or if the Layout is of a chart object it is used as chart title. The text can contain substitution formulas to make it dynamic.
Example
The Data tab shows the data blocks (or columns) of the Layout. To add a data block, double-click on the yellow line.
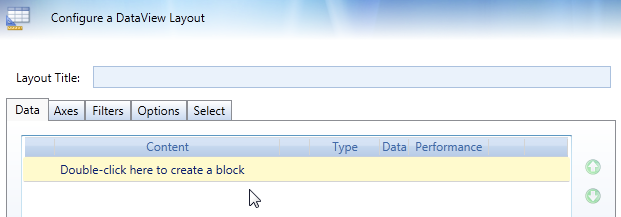
A block of the Layout can be
a cube: select the desired cube from the Data selection drop-down list
calculated column: type the formula in the Column algorithm field.
an entity: select the entity from the Entityes & Relationships drop-down list
a ranking function, which are predefined algorithms for ranking analysis: select the desired function from the drop-down list
a Rule : select the desired rule from the drop-down list. Rules defined in the database, they are formulas that calculate the value of an entity member from other members of the same entity (refer to Database Rules for details).

Refer to the Layout blocks paragraph for more details
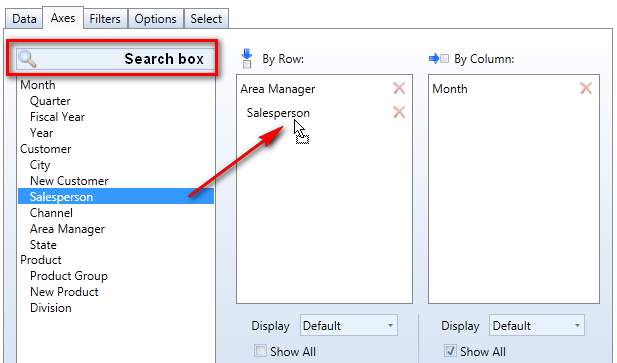
Click on the Axes tab and set entities in rows and columns of the Layout: drag and drop the entities from the left list to the By Row and By Column as shown
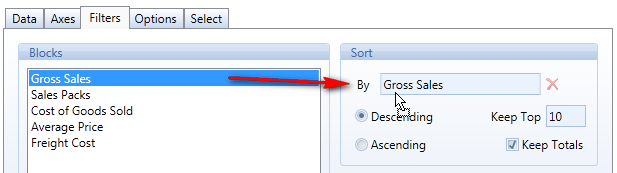
Optionally, go to the Filters tab to set sorting and filtering options as required. The filters tab allows to set the sorting of rows and set filtering conditions on cells values. Refer to Setting Filters for more details.
To sort the rows of the Layout drag and drop a block to the Sort by or to the Filter A or Filter B fields. Note that the sorting condition applies to the entity set in rows (i.e. the By Row axis).
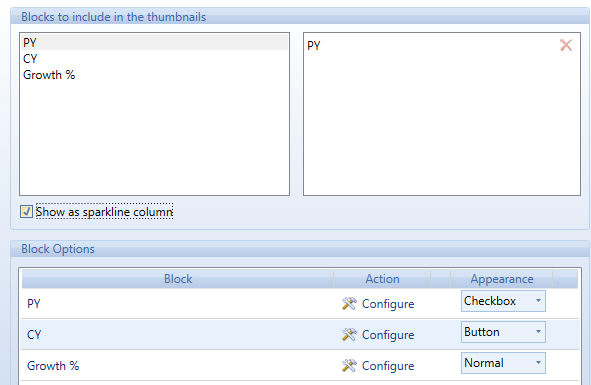
Optionally, go to the Options tab to add Data Visualization advanced features like Thumbnails or Sparklines. It is also possible to change the Cell Body visualization format from info-cube values to Check-Box and Button and Trigger an Action (Procedure) when the user clicks on the Cell.
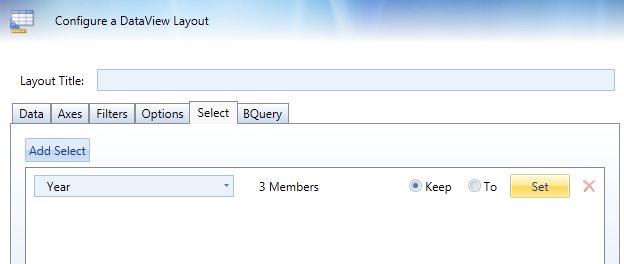
In the Select tab, it is possible to define a Selection which applies to the Layout only.
The Select defined at Layout level can be of two types
Keep: the selection is nested with the other screen selections. The result is the intersection of the screen selection and the Layout selection.
To: the Layout selection is retained only, if there is a screen Select on the same entity or an a related entity then these are ignored.
Example: let's consider a tree with three entities, Customer, Channel and Region where Channel and Region are parents of Customer, Channel and Region being independent (different branches). The screen Select is on Channel Retail and the Layout Select is on Region North.
If the Keep mode is used, then the result will be of Customers belonging to Channel Retail and Region North. If the To mode is used, then the result is of all customers from region North, for all channels because the Select conditions on any other entity belonging to the same tree of the Region are ignored.
Open the Layout definition window.
Go to the Select tab.
Click the Add Select button.
Choose the entity to define the select condition in the drop-down box.
Choose Keep or To mode.
Click the Set button to choose the desired items.
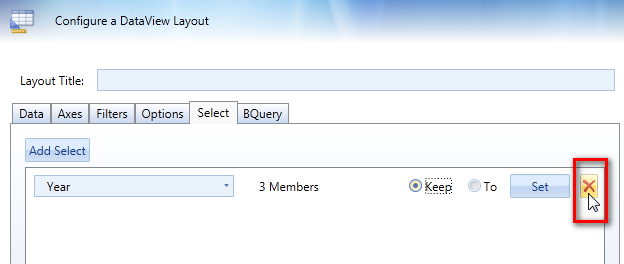
to add a selection on another entity click Add Select again.
Click the delete button as shown in the following picture.
Click the OK button to run the Layout or click the Apply button to close the Layout window without executing the query.
Save the Capsule if you wish to save your new Layout or changes.