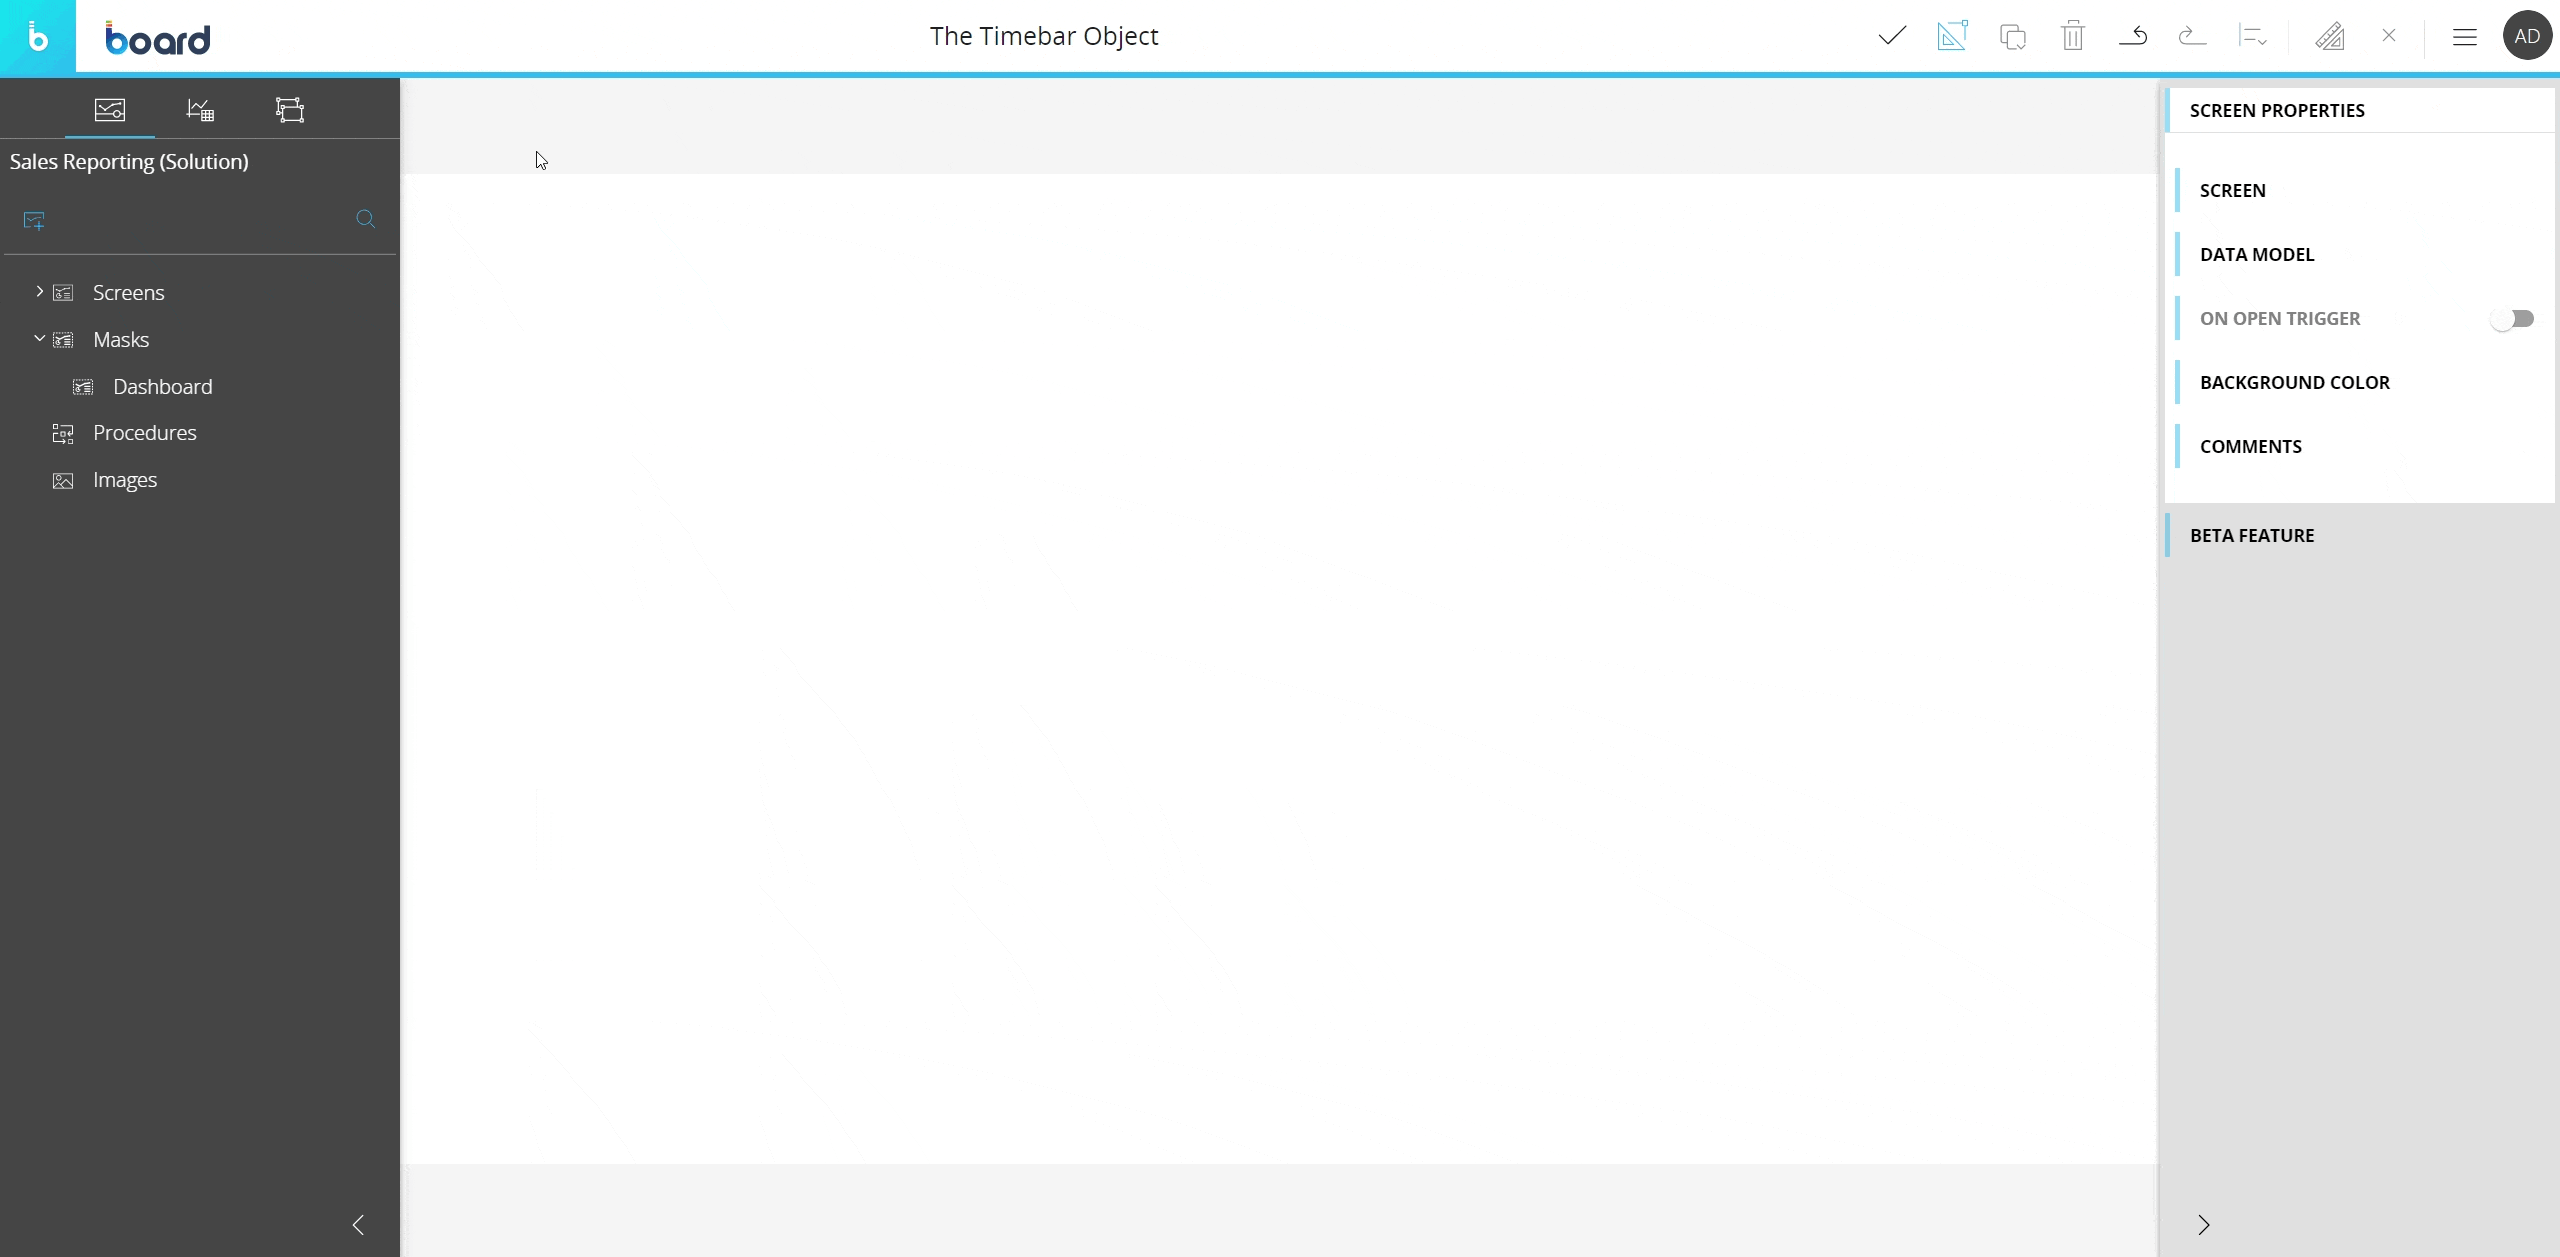
Creating a Timebar Object
This topic describes how to add a new Timebar Object to a Screen or a Container and its specific properties.
To create a new Timebar Object, you need to access a Screen in Design mode.
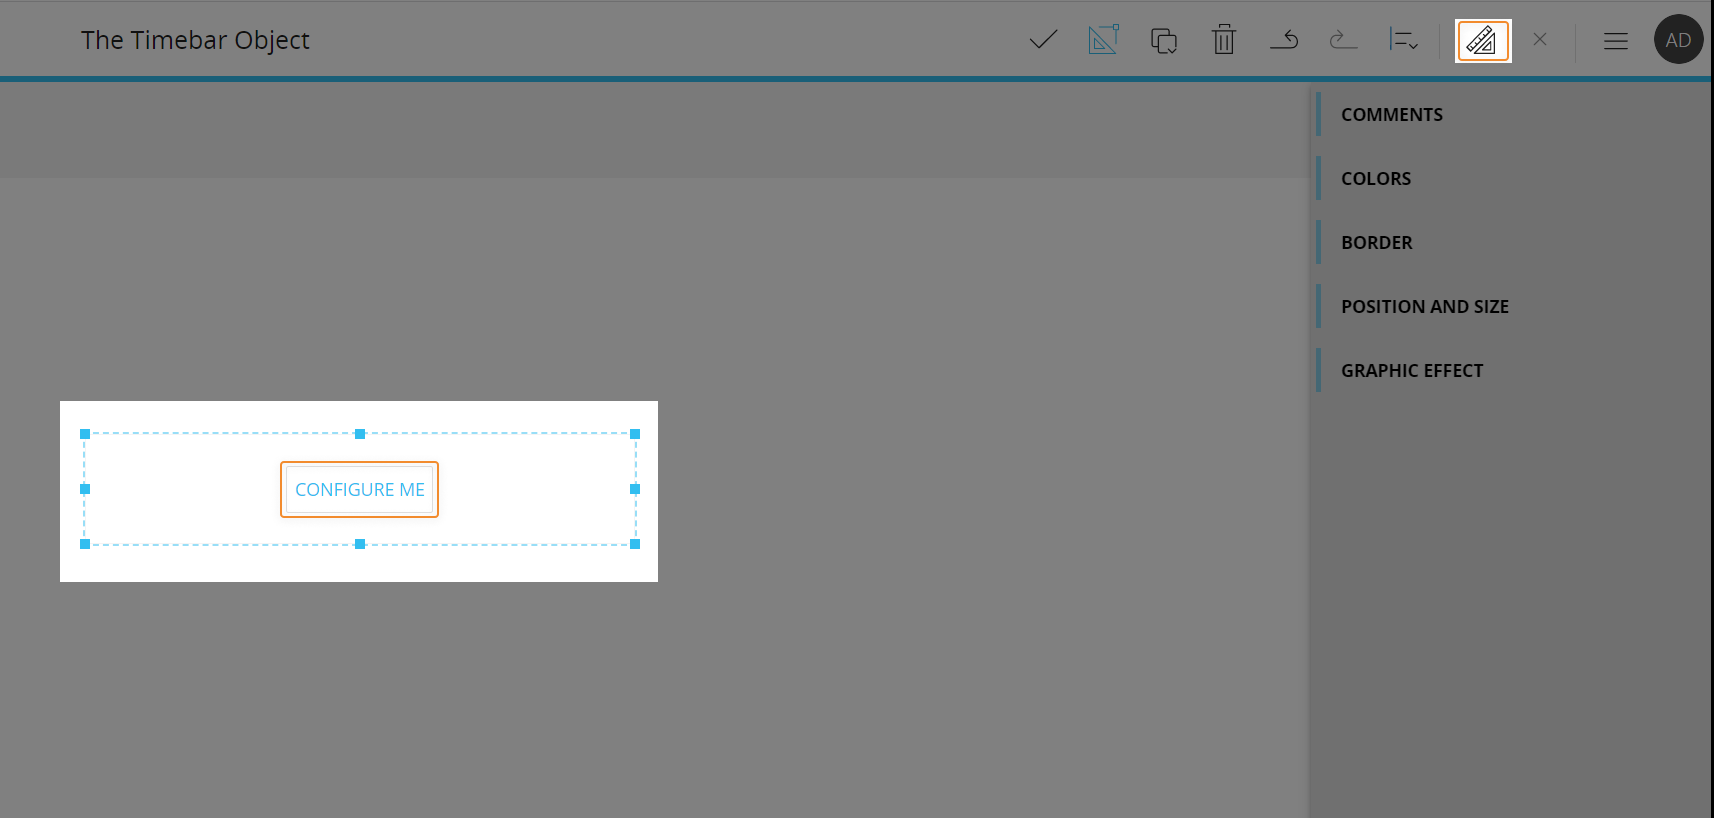
Once you're in the Screen editing page, locate the Timebar Object from the Screen Objects list in the left panel, then drag and drop it onto your Screen or Container.
When you create a Timebar Object, it is initially empty. The next step is to configure a Layout that will define the time range to be displayed. To do so, select the Object and click the "Configure layout" button (![]() ) located in the Top Menu of the Capsules workspace or click the "Configure me" button.
) located in the Top Menu of the Capsules workspace or click the "Configure me" button.
See The Layout Object, Configure a Layout and About data blocks of a Layout for more details on the Layout Object.
The Timebar Object, just like every other Object, can be moved, resized, duplicated via copy/paste and easily aligned with other Objects on the Screen.
See Configure Screen Objects for more details.
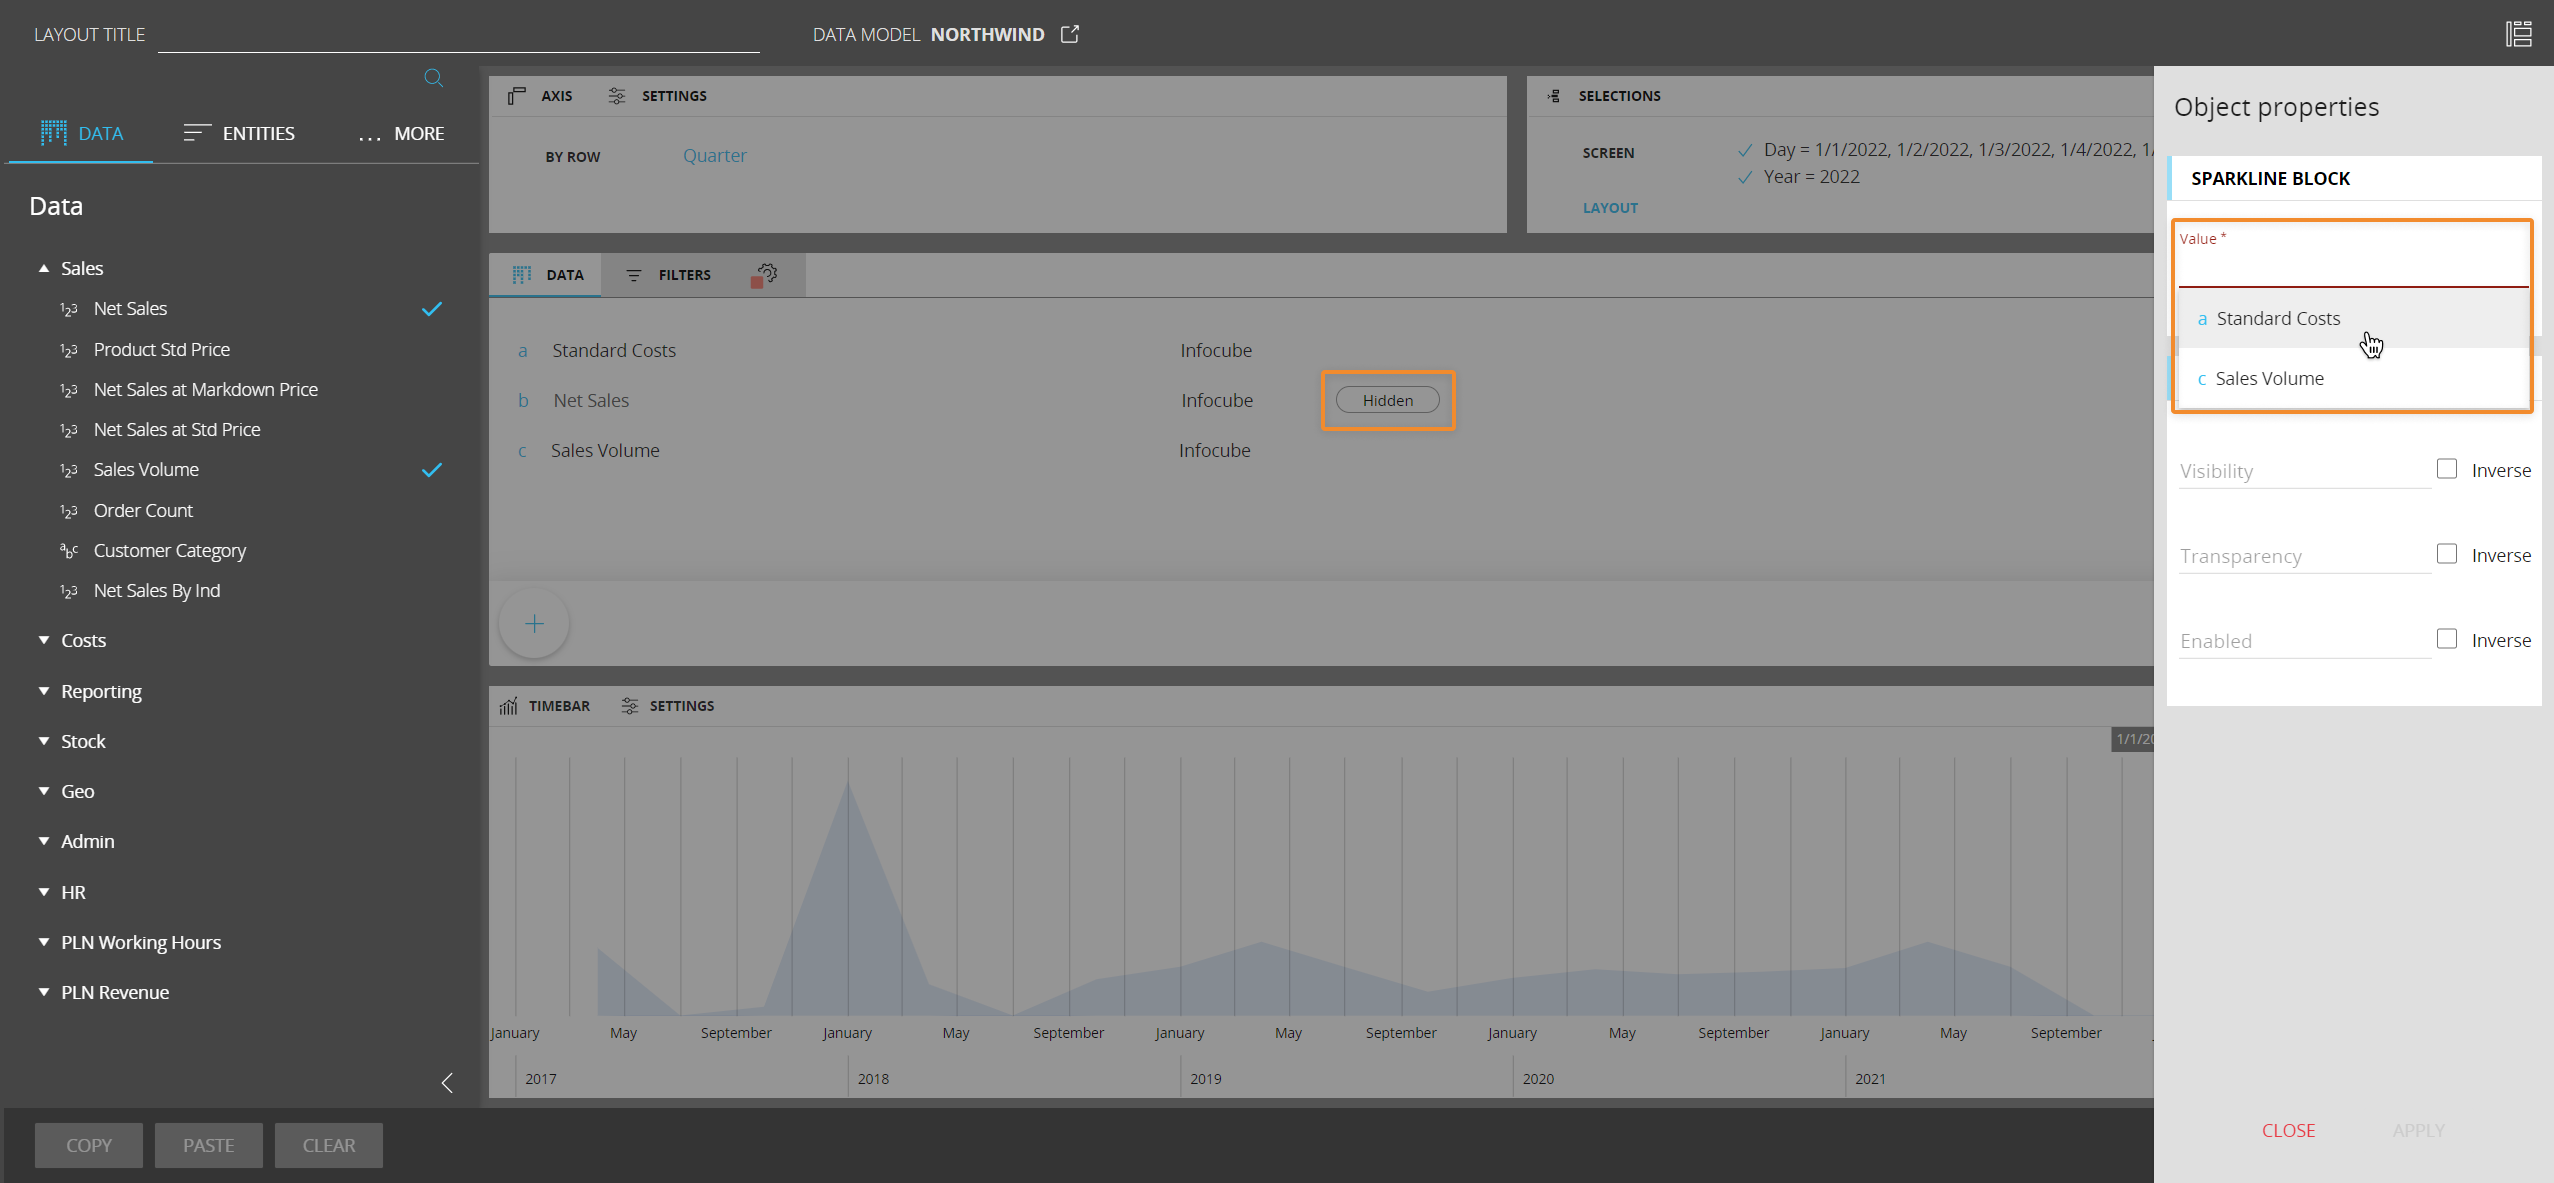
Timebar Layout
The Layout editor for the Timebar Object is slightly different from the classic one, in that it offers some specific options and properties.
The main differences are highlighted in the image below:
.png)
The Axis area
In the Axis area you can define the Time Entity that will be used to plot the area sparkline chart.
The Timebar Object supports and requires only one Time Entity in the By Row field.
The Timebar Object doesn't support Entities By Column.
Properties in the Axis area settings menu shown below are available, but any change made during the Layout configuration is ignored.

Object properties
In the Layout editor, under the Object properties panel, the Sparkline Block menu allows you to configure which Block will be used to plot the area sparkline chart in the Timebar: simply click on the field and select one of the suggested Blocks.
Hidden Blocks will not appear in the suggestion panel.
Timebar properties and settings
Timebar properties are available from the contextual right panel of the Screen editing page once the Object is selected.
The Object supports all options common to all Screen Objects and has only one specific property: Show inactive.
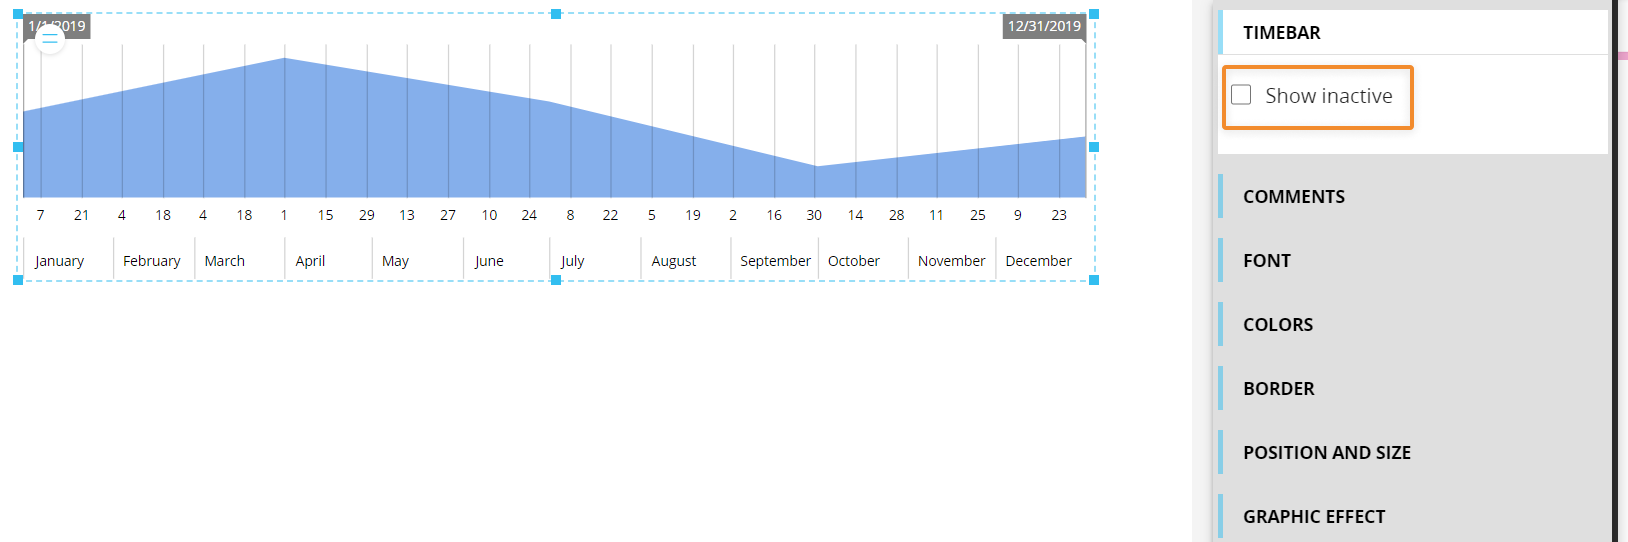
If enabled, the Show inactive property allows end users in Play mode to extend the selection to members not included in the default Screen Selection.
If disabled, the Show inactive property denies end users in Play mode the ability to select members not included in the default Screen Selection.
See About the Select for more details.
Interacting with the Timebar Object in Design mode
In Design mode, the Timebar Object provides the same interactive features available in Play mode.
Be aware that, if you apply a selection in Design mode and save the Screen, that selection will be applied to the Screen in Play mode by default. Depending on the configuration of the "Show inactive" property described in the previous paragraph, end users in Play mode will be able to extend the selection to members not included in the default selection or not.
Learn more about: